Chapter 3
The rails
The two columns of buttons on the map are the rails. A tap does the everyday thing: switch a layer on or off, or open a window. Many buttons also do something on a long-press (touch and hold for about a second), usually opening that feature's settings.
You can rearrange the buttons, move ones you rarely use to More, and save up to five layouts.
3.1Every rail button
A button with a yellow background is switched on. These are the buttons in their factory positions.
Left rail
| Button | Tap | Long-press |
|---|---|---|
 Zoom Zoom |
Steps through your zoom levels, widest first | Zoom Levels: set the levels (Set your zoom levels) |
 Lock Lock |
Locks the map so two fingers can't rotate it | — |
 POI POI |
Select Focus Area (Choose your focus area) | — |
 Center Center |
Centers the map on your position, keeping the zoom | Centers and zooms to the range rings |
 LAANC LAANC |
LAANC grid on or off | LAANC Overlay (LAANC altitudes) |
 Weather Weather |
Radar on or off | Radar / Rain Alerts (Weather radar) |
 Wind Wind |
Wind alerts on or off | Wind Alert Settings (Wind alerts) |
 Obst Obst |
FAA obstacles on or off | FAA Obstacle Settings (Obstacles) |
 Wire Wire |
Power lines on or off | WireWatch™ (Power lines) |
 Pipeline Pipeline |
Pipelines on or off | PipeWatch™ (Pipelines) |
Right rail
| Button | Tap | Long-press |
|---|---|---|
 Map Map |
Map Settings (Map settings) | — |
 Search Search |
Jump to Location: find an address or coordinates | — |
 TFR TFR |
FAA TFR Overlay (Temporary flight restrictions) | — |
 NOTAM NOTAM |
Drone (UAS) NOTAMs on or off (Drone NOTAMs) | — |
 Rules Rules |
Alert rules (Alert rules for aircraft) | — |
 Filter Filter |
Visibility Settings (Hide traffic you don't need) | — |
 Altitude Altitude |
Altitude Settings (Altitude settings) | — |
 Mute Mute |
Silence ALL traffic (Silence all traffic) | — |
 Record Record |
Starts or stops a recording (Record a flight) | Recording settings |
 Playback Playback |
Switches to Playback and opens the library (Play back a recording) | — |
 Live Feed Live Feed |
My Live Feeds (Start a live feed) | — |
 Receiver Receiver |
The receiver window (The receiver window) | Select Data Source (Choose where your traffic comes from) |
 Tutorial Tutorial |
Tutorials (Tutorial videos) | — |
More appears only when you've moved at least one button off the rails. See Buttons you moved to More.
Long-presses that aren't on the rails
- The compass (bottom right of the map): opens Arrange rail icons.
- The map itself: opens Add to Map, for a custom facility, a custom obstacle, or a silence zone you draw.
3.2Arrange the rail buttons
Arrange rail icons shows both rails as lists, side by side, with OFF RAIL underneath.
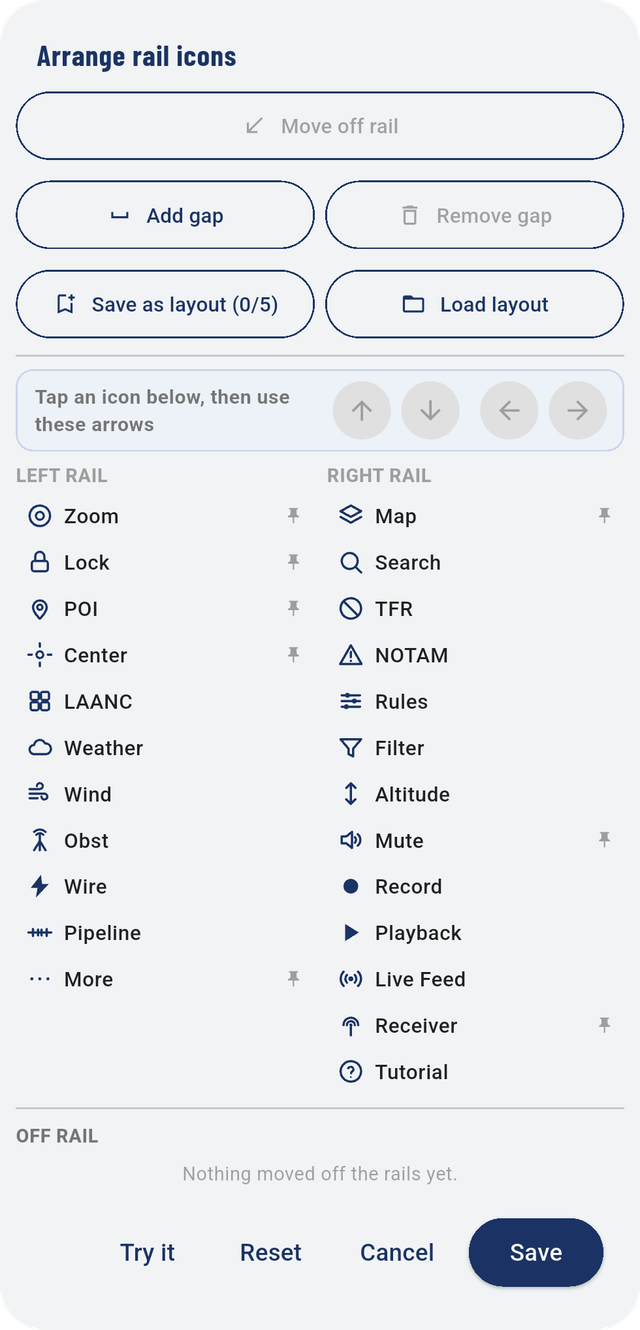
To move a button:
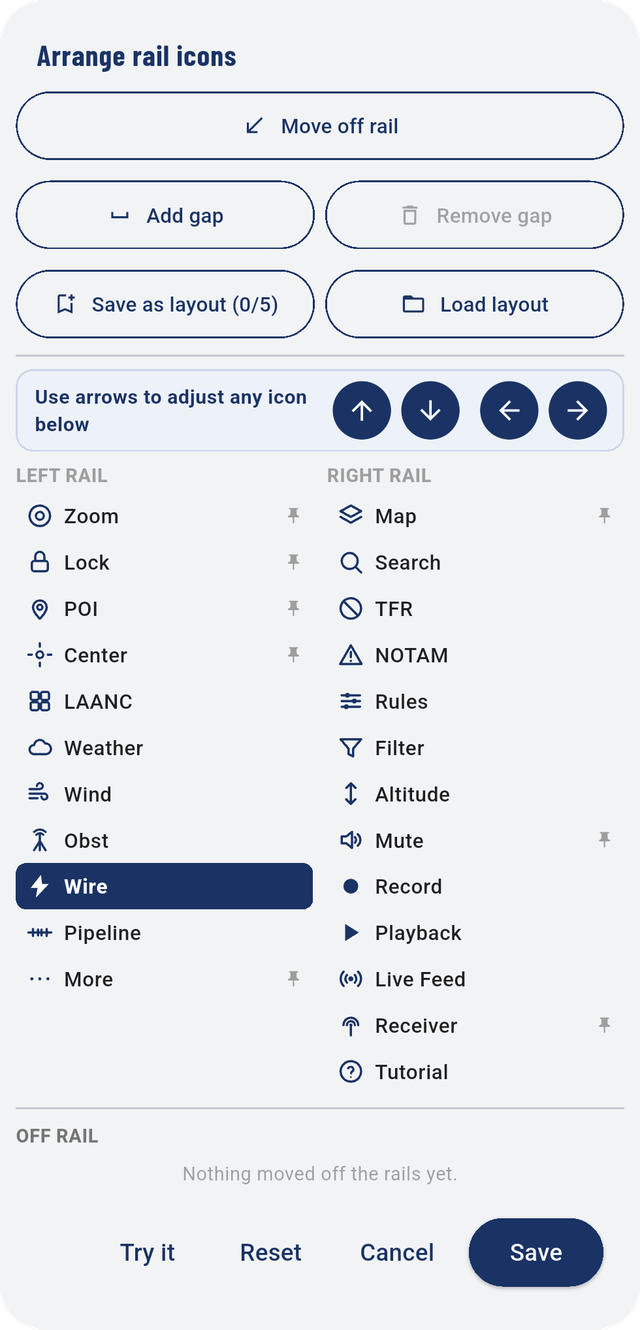
- Tap it in the list. It turns dark blue.
- Use the arrows: Up and Down move it within its rail; the left and right arrows move it to the other rail.
- To take it off the rails, tap Move off rail. It drops into OFF RAIL and will be under More on the map. To bring it back, select it and tap Return to rail.
- Tap Save.
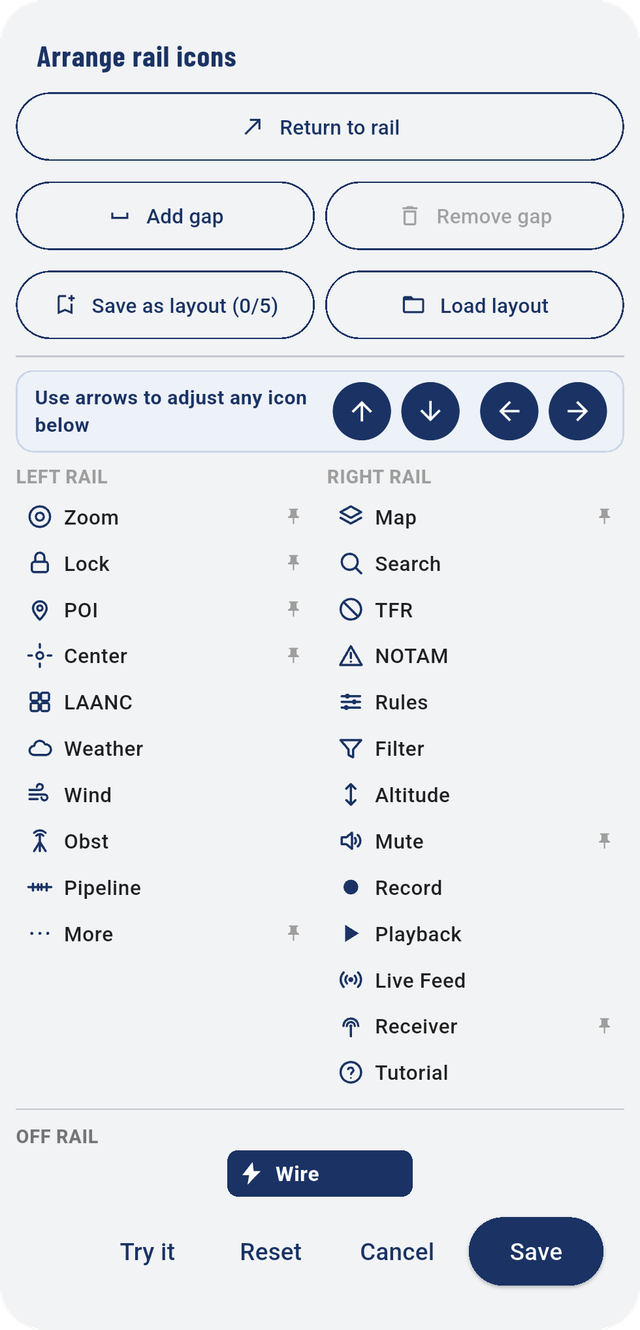
Eight buttons can be moved up and down but never off the rails: Zoom, Lock, POI, Center, Map, Mute, Receiver and More. They show a pin, and Move off rail reads Must stay on a rail for them.
Try a layout before you keep it
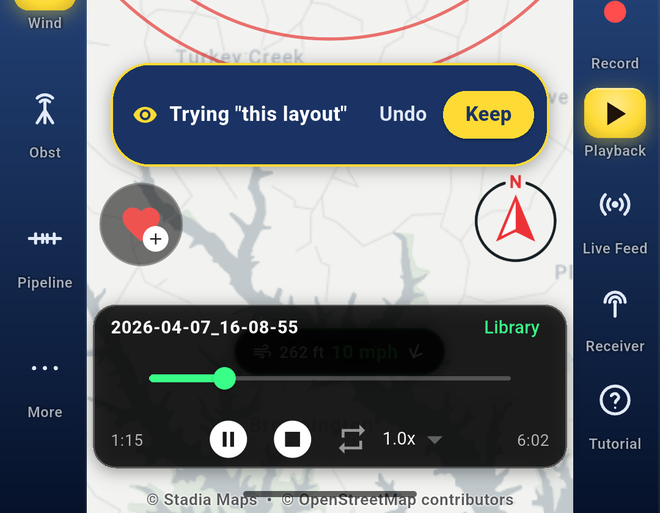
Tap Try it to put your changes on the real rails without saving. A bar reading Trying "this layout" appears over the map. Use the map for a moment, then tap Undo to go back or Keep to save it.
Space between buttons
Add gap puts a small space below the selected button, handy for grouping buttons by job. To take one out, select the gap and tap Remove gap.
Back to the factory layout
Reset puts every button back where it started. If you have unsaved changes, it asks first.
3.3Save and load layouts
You can keep up to five named layouts, for example one for crop dusting and one for inspections, and switch between them in a couple of taps.
- Save as layout (0/5) saves the current arrangement under a name. The count shows how many of the five you've used.
- Load layout lists your layouts and Default, the layout the app ships with.
3.4Buttons you moved to More
Buttons you take off the rails live in More tools. They work exactly as they do on a rail: tap to switch, long-press for settings.
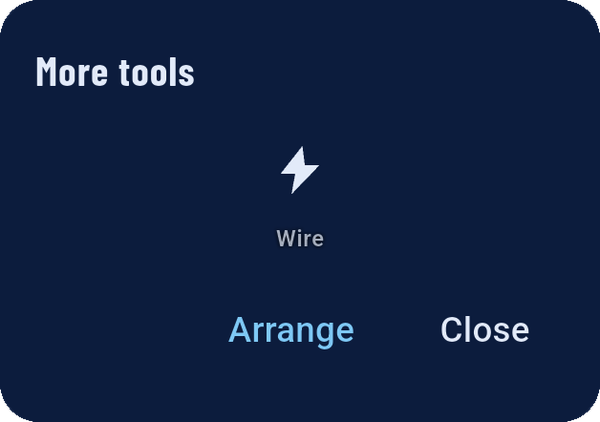
More only appears when at least one button is off the rails. It shows a gold dot when something inside it is switched on, so a layer that's on never hides from you. Arrange opens the rail editor.
3.5Features that work only in the United States
Seven buttons use United States data (FAA, NOAA and US utility maps). Outside the US they have nothing to show:
- LAANC, Weather and TFR
tell you so: "… uses US FAA data and is not available at your current
location."
- Obst says so when you long-press it.
- Wire, Pipeline and
NOTAM simply show an empty layer.
3.6Set your zoom levels
A short tap on Zoom steps through your favorite zoom levels, widest first. The button shows which one you're on: no color at the widest, blue in the middle, gold at the tightest.
Long-press it to set the levels.
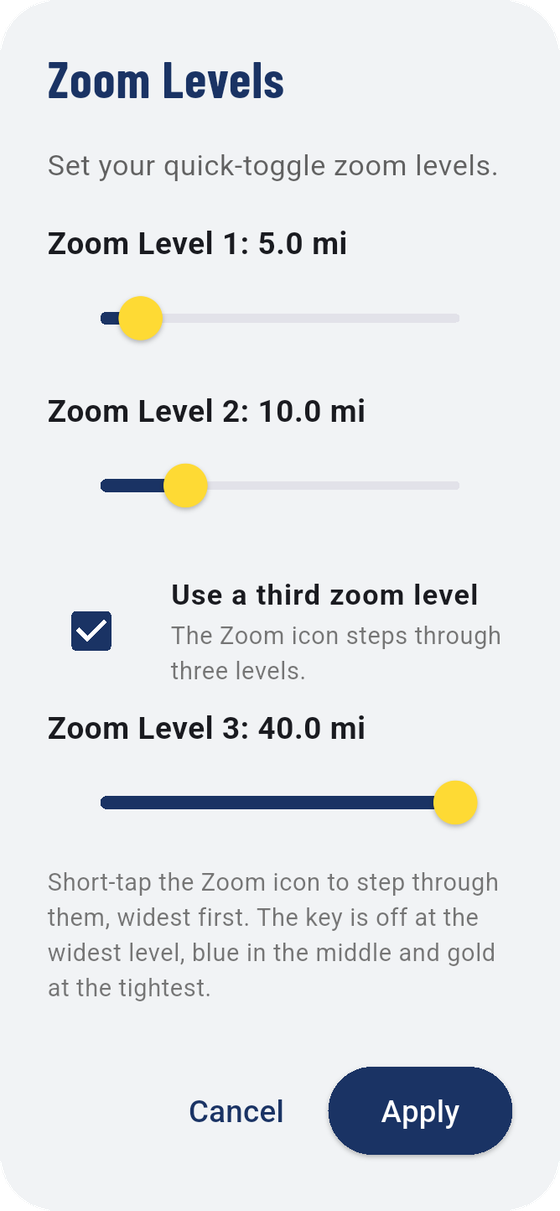
- Drag Zoom Level 1, 2 and 3 to the ranges you use.
- Untick Use a third zoom level if two are enough. Zoom then toggles between Level 1 and Level 2.
- Tap Apply.
3.7Center the map
After you've dragged the map away to look around, Center brings it back to your position.