Chapter 10
Record and play back
Record a flight's traffic to review later, replay it at your desk, pull a recording off the receiver for any time it was running, and share a recording on the pilotADSB website.
10.1Record a flight
Tap Record while traffic is live. Tap it again to stop; the app offers to name the recording, then saves it in My Recordings.
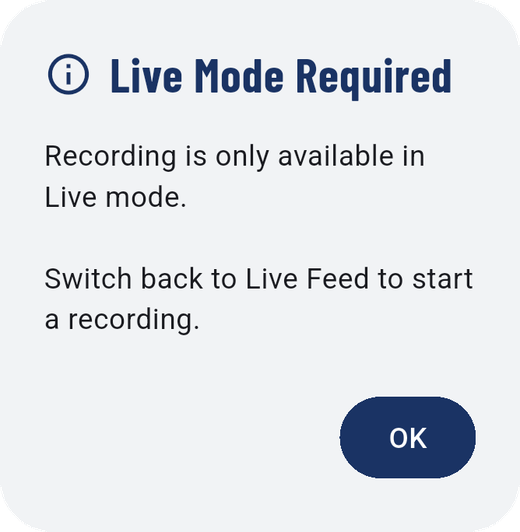
Recording works in Live mode only. In Playback, Record tells you so:
10.2Recording settings
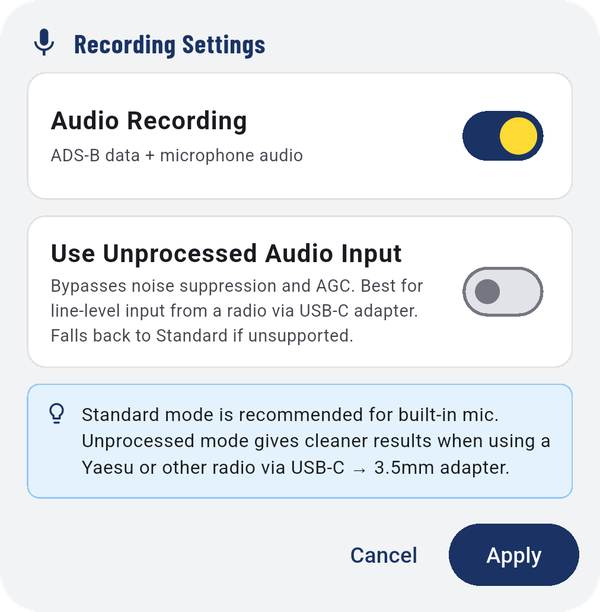
- Audio Recording: records the phone's microphone along with the traffic, for example to capture a radio.
- Use Unprocessed Audio Input: skips the phone's noise suppression and automatic level. Best when a radio is plugged in through a USB-C adapter; leave it off for the built-in microphone.
10.3Play back a recording
Tap Playback. The app asks before leaving live traffic:
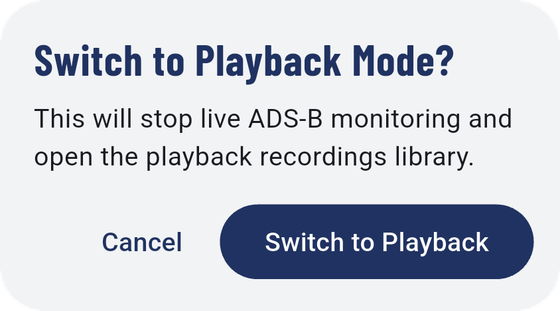
Tap Switch to Playback, then pick a recording in the library (The Playback Library). The controls along the bottom of the map:
- the recording's name, and Library to pick another,
- a slider to jump anywhere in the recording,
- play / pause, stop, loop, and the playback speed (1.0x),
- the time played and the total length.
To go back to live traffic, tap Back to Live Feed at the top of the map and choose your source.
10.4The Playback Library
Two tabs:
- Stock Recordings: real flights recorded with a pilotADSB receiver, built into the app. Play one to learn the app with real traffic on the screen.
- My Recordings: your own (My Recordings).
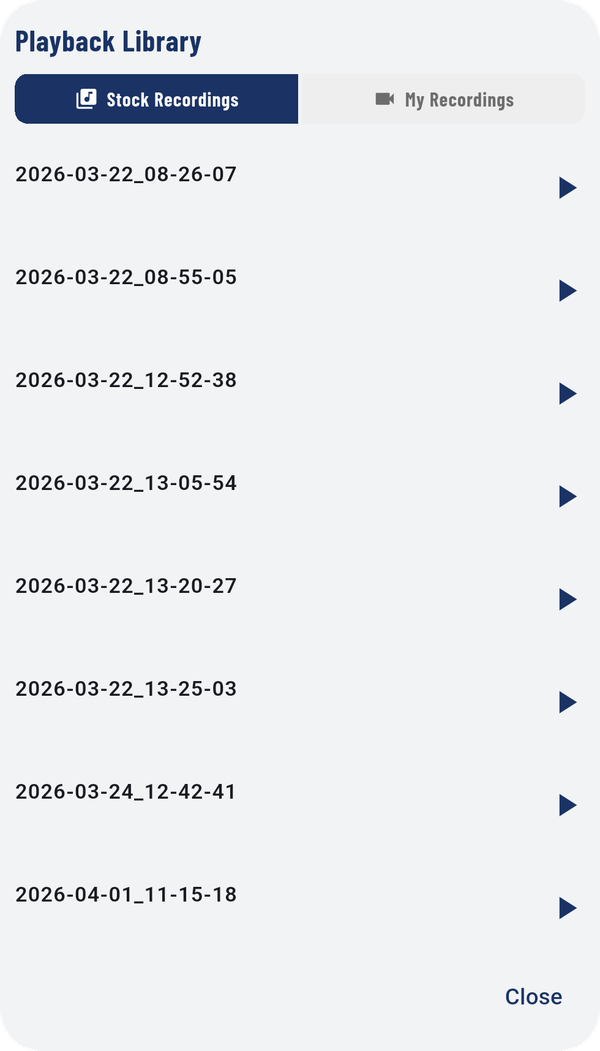
Tap a recording to play it.
10.5My Recordings
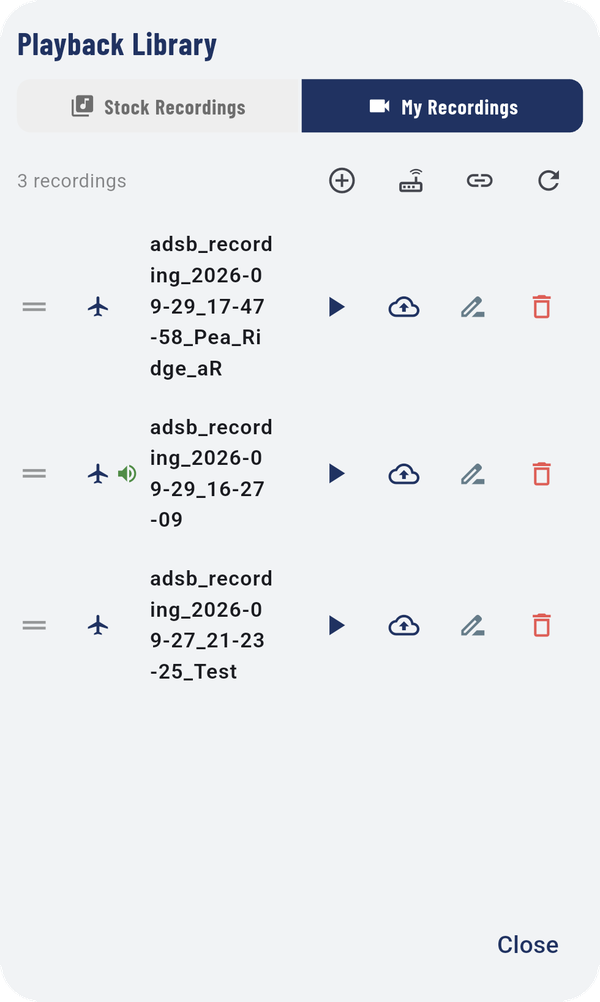
The icons along the top: add a recording file from your phone, get from receiver (Get a recording from your receiver), shared links, and refresh. Each recording has buttons to play it, share it to the website (Share a recording on the website), rename it and delete it. A speaker icon means it has audio.
10.6Get a recording from your receiver
Needs a receiver
The receiver keeps a recording of everything it hears. You can pull out any stretch of it, even if you weren't recording in the app.
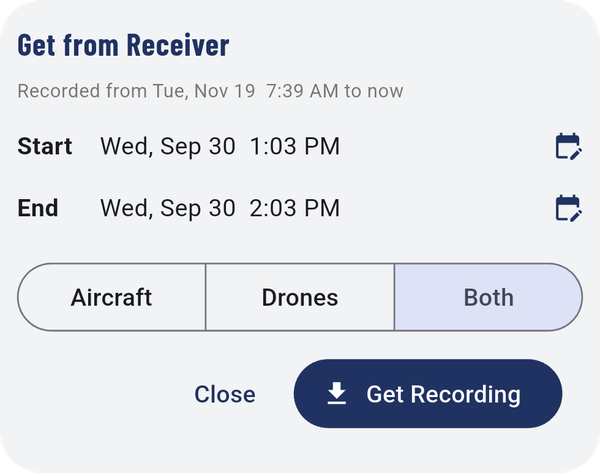
- Set Start and End, the date and time. Up to 4 hours at a time.
- Choose Aircraft, Drones, or Both.
- Tap Get Recording.
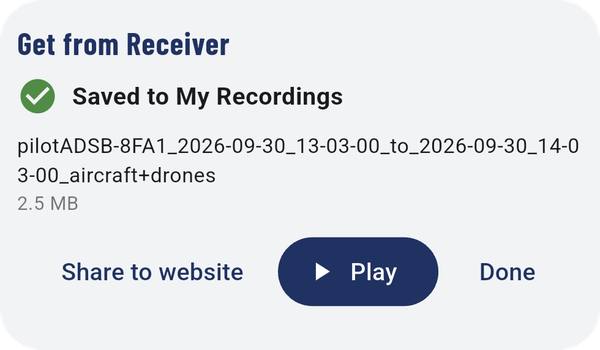
It's saved to My Recordings, ready to Play or Share to website.
Note
Recordings come from the receiver over WiFi or your local network, so the phone and receiver must be on the same network. Bluetooth is too slow for recordings.
10.7Share a recording on the website
Needs internet
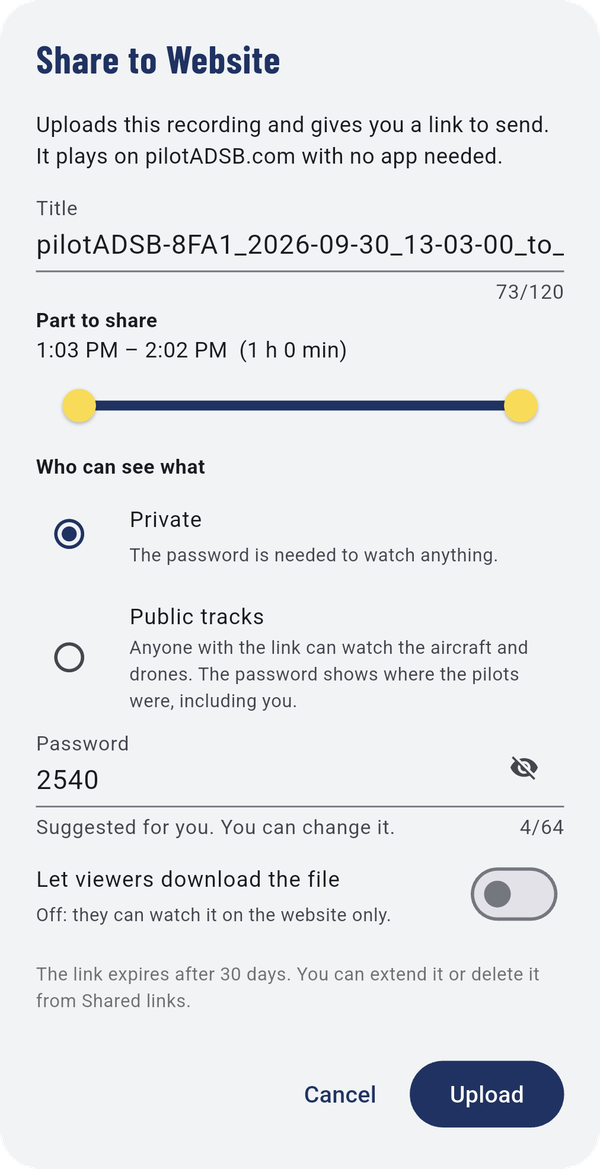
- Give it a Title and choose the Part to share.
- Under Who can see what, choose Private or Public tracks.
- Set a Password (at least 4 characters; one is suggested), and whether to Let viewers download the file.
- Tap Upload. You get a link and the password to send to whoever you like.
Links expire after 30 days. Audio isn't uploaded.